Wondering how to make pour over coffee? As a coffee enthusiast, I know how challenging it can be to learn how to make a perfect pour-over coffee, especially if it’s your first time.
The first few times I tried I was left with an over-extracted coffee because I had no idea what I was doing. Since then I’ve done a lot of research to perfect my pour over method.
Luckily for you, I’ve made this step-by-step guide to help you avoid the mistakes I made and achieve a perfect brew the first time around!
Pour over coffee is a simple brewing method that can produce crisp, clean coffee with ease. It’s rich and flavorful and can be the perfect start to your day.
Since the rise of the specialty coffee industry manual brewers are all the rage. Although with more control comes a bigger learning curve.
Keep reading to find out how to make delicious pour over coffee.
What Is Pour Over Coffee?

Pour over coffee is an infusion brewing method, it is commonly referred to as drip coffee. It can be prepared both manually or automatically. Although manual preparation allows you to control the quality of your brew better giving you a superior brew.
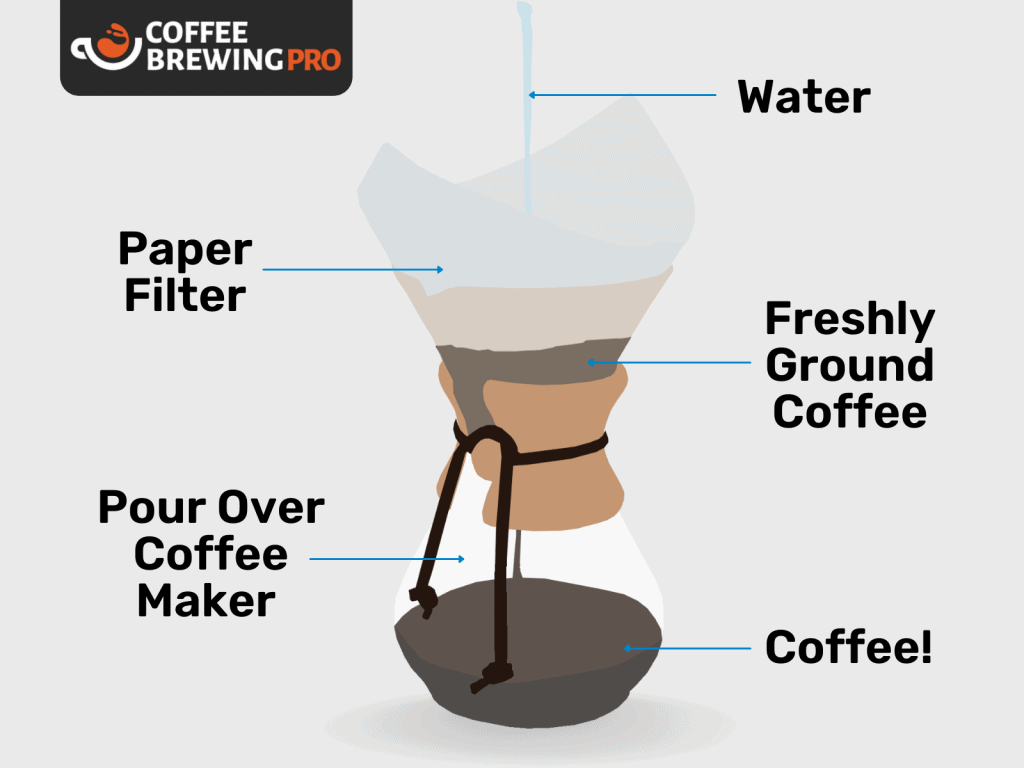
It involves pouring hot water over coffee grounds in a filter. The water passes through the coffee grounds and drips through the filter into a carafe or mug.
As the water passes through the coffee it picks up the water-soluble substances that give your coffee its taste.
Essentially it’s called pour over coffee because you pour water over the coffee. Doesn’t get simpler than that right?
Pro Tips For The Perfect Pour Over Coffee
Coffee Beans
The coffee beans you use will depend upon your personal preference. If you’re not sure where to start I recommend medium roast Arabica beans as a starting point. For maximum flavor, freshly roasting your beans can make all the difference.
For more information on the different types of coffee beans and which ones you should pick check out this guide.
Grinder
Ensuring your beans are ground properly is a crucial part of your brew. Too fine and your brew will be over-extracted. Too coarse and it’ll be under-extracted.
For pour over coffee specifically, we want to aim for a medium to fine grind size with the consistency of kosher salt.
I always recommend that you use a burr grinder, specifically a conical burr grinder when grinding your beans. They tend to have a slightly higher price point but they will give you an even grind and greater control over the grind size.
Always freshly grind your beans if possible. If you don’t have a grinder you can get your local coffee shop to grind your beans for you.
Never use a blade grinder or blender as they will leave you with an inconsistent grind and can completely ruin the taste of your beans.
Water
Ensure you are using fresh, filtered water to reduce the mineral content. Water with a high mineral content can change the taste of your coffee.
A water temperature of 195-205°F is ideal.
If you don’t have a thermometer, once water is at a boil let it sit for 30-45 seconds. If you use boiling water you can scorch your coffee beans and this will alter their taste.
Coffee To Water Ratio

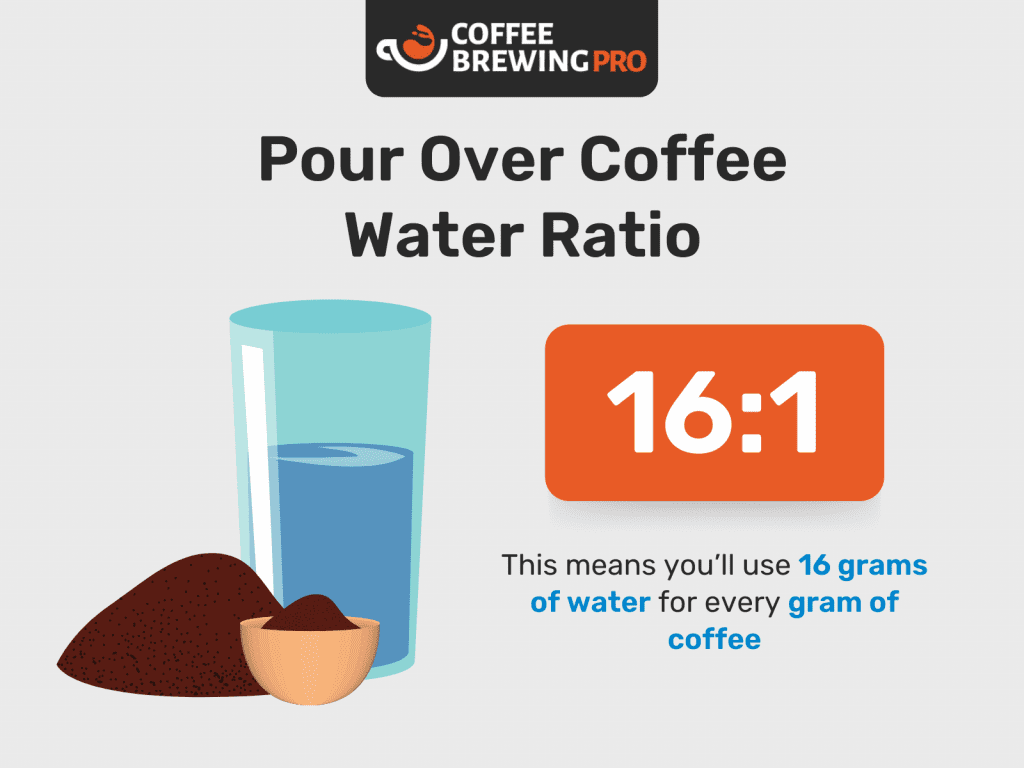
When making pour over coffee I recommend a coffee to water ratio of 16:1. This means you’ll use 16 grams of water for every gram of coffee. If you prefer a stronger coffee you can experiment with this ratio by reducing the amount of water you put in or vice versa.
To calculate how much coffee you need simply weigh how much water you want to brew and divide it by 16.
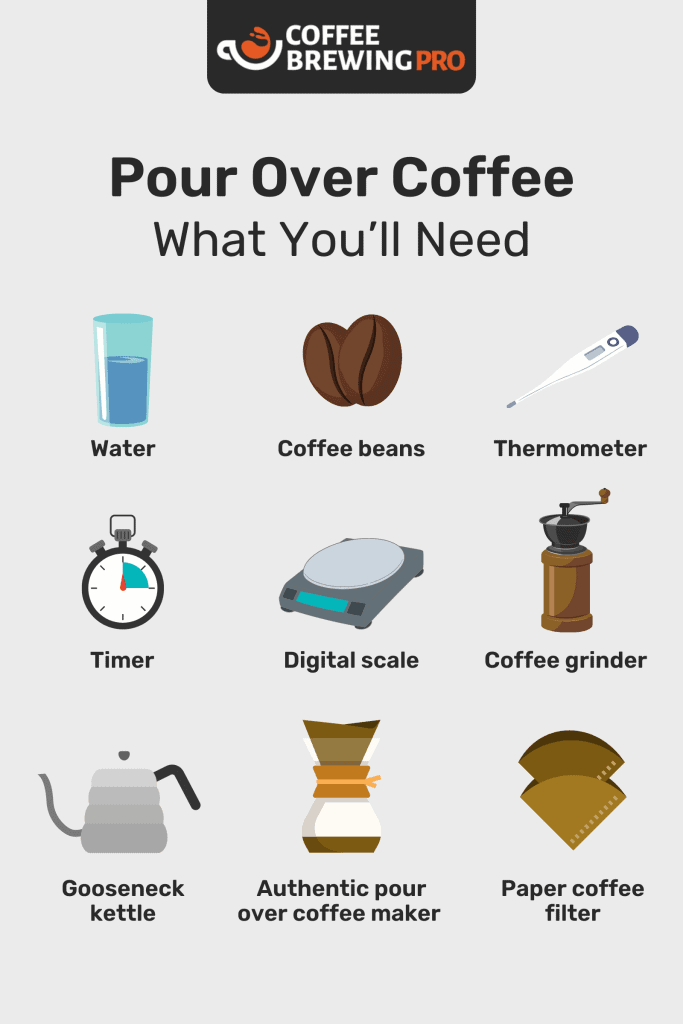
What You’ll Need

- Coffee beans
- Water
- Authentic pour over coffee maker e.g. Kalita, Chemex, or a drip cone and carafe
- Paper coffee filter
- Coffee grinder (optional if you are using pre-ground beans)
- Gooseneck kettle
- Digital scale
- Timer
- Thermometer (optional)
Step By Step: How To Make Pour Over Coffee
Step 1 – Measure Out Your Water And Coffee

Using a 16:1 ratio, measure out 450g of water and 28g of coffee. These measurements will give you 2 cups of coffee.
Make sure to measure out some extra water to preheat your carafe and prep your filter later.
Step 2 – Boil Your Water

Boil your water in a gooseneck kettle on a stove. Using a gooseneck kettle will give you maximum control over the direction and flow rate when pouring water over your coffee.
Once the water has boiled, let it sit for 30-45 seconds so it reaches a temperature of 195-205°F. You can use a thermometer to check if you have one.
Using boiling water will scorch your beans and ruin the taste.
Step 3 – Prep Your Filter And Preheat Your Carafe

Place your filter in the drip cone on top of the carafe or mug and pour some hot water through. Ensure you fully wet the filter to get rid of any paper residue that could impact the taste.
Give the water a swirl in your carafe for 5-10 seconds to warm it up, then pour it out.
Step 4 – Grind Your Coffee

Grind your coffee to a medium to fine grind size. It should have the consistency of kosher salt or coarse sand.
Always freshly grind your beans if possible. If you don’t have a grinder you can get your local coffee shop to grind your beans for you.
Step 5 – Put Your Coffee In The Filter

Pour your ground coffee into the filter of your pour over coffee brewer. Give it a shake to create an even, flat bed of coffee.
Step 6 – Pour The Water Over Your Coffee

Place your pour over coffee brewer on your scales and zero them.
Start the bloom by pouring 50g of water over your coffee. As you start pouring you will need to start your timer. Make sure to cover all of the grounds with water.
Pour your coffee over the grounds in a circular motion starting from the center then let it sit until the timer hits the 30-second mark. Keep the spout of the kettle close to the grounds for greater accuracy.
The bloom will saturate the coffee beans and release the carbon dioxide so it won’t be trapped in your cup and alter the taste. This is represented by the bubbling you’ll see during the bloom.
If you are using more coffee you will need to use more water for the bloom and vice versa if you are using less coffee.
Step 7 – Pour The Rest Of Your Water

After 30 seconds, pour another 200g of water over your coffee grounds.
Make sure you pour your coffee over the grounds in a circular motion starting from the center. Keep circling out then back in until the 200g has been poured, then let it sit.
Make sure you aren’t pouring too quickly or too slowly. If you notice the water level starts to come close to the top of the brewer while pouring, slow down your pour or pause for a short while to avoid overflowing.
When the timer hits the 1-minute mark, pour an additional 100g of water then let it sit until the timer hits 2 minutes.
When the timer hits 2 minutes, pour the remaining 100g of water over the coffee grounds.
Step 8 – Let It Drip

Let the coffee brew for 3 ½ minutes.
The brew time will depend upon your grind size. You may need to adjust this depending on how much coffee you are brewing.
After 3 ½ minutes, the coffee left behind in the filter should have an even, flat bed of grounds. If so, well done! You’ve poured your water over correctly.
If it doesn’t look even, you’ll need to focus on the circular, steady motion when pouring next time.
Step 9 – Serve And Enjoy

Give your brew a swirl for 5-10 seconds to mix the heavy and lighter parts of the coffee. This will give you an even brew.
Pour it out into a mug and enjoy!
What To Do Next?
Now you know the ins and outs of how to make pour over coffee. A lot of people find it difficult to get right, but once you master this skill you’ll be brewing delicious coffee at home every time.
The flavor of your pour over coffee largely depends on the grind size, consistency, and bean quality too.
If you’re interested in learning other brewing techniques and recipes, check out our guides here, or this article on how to make French press coffee.


